Tarp Tie-Outs with Fleaz: Complete DIY Setup Guide
In this step-by-step guide, we explain how to make tarp tie-outs using Fleaz. This method helps you tension your tarp quickly, prevents tangles, and improves stability in windy conditions.
What Are Tarp Tie-Outs with Fleaz?
Using Fleaz (line tensioners) allows you to create adjustable tie-out points for your tarp. This setup offers several benefits:
- Fast and easy adjustment
- No complicated knots
- Better tarp tension
- Reduced wear and tear in strong winds
What You Need for Tarp Tie-Outs
To make 4 tarp tie-outs, you’ll need:
- 4 Fleaz
- 4 tent stakes
- 6–8 meters of Lash-It or Zing-It (1.75 mm is ideal)
- 1 meter of shock cord (2 mm or 3 mm)
- A tarp
- A knife or scissors
Step 1: Cut the Shock Cord and Lines
Start by preparing your materials:
- Cut the shock cord into 4 pieces of 25 cm (10 inches)
- Cut the Lash-It or Zing-It into 4 pieces of 1.5–2 meters (5–6.5 ft)
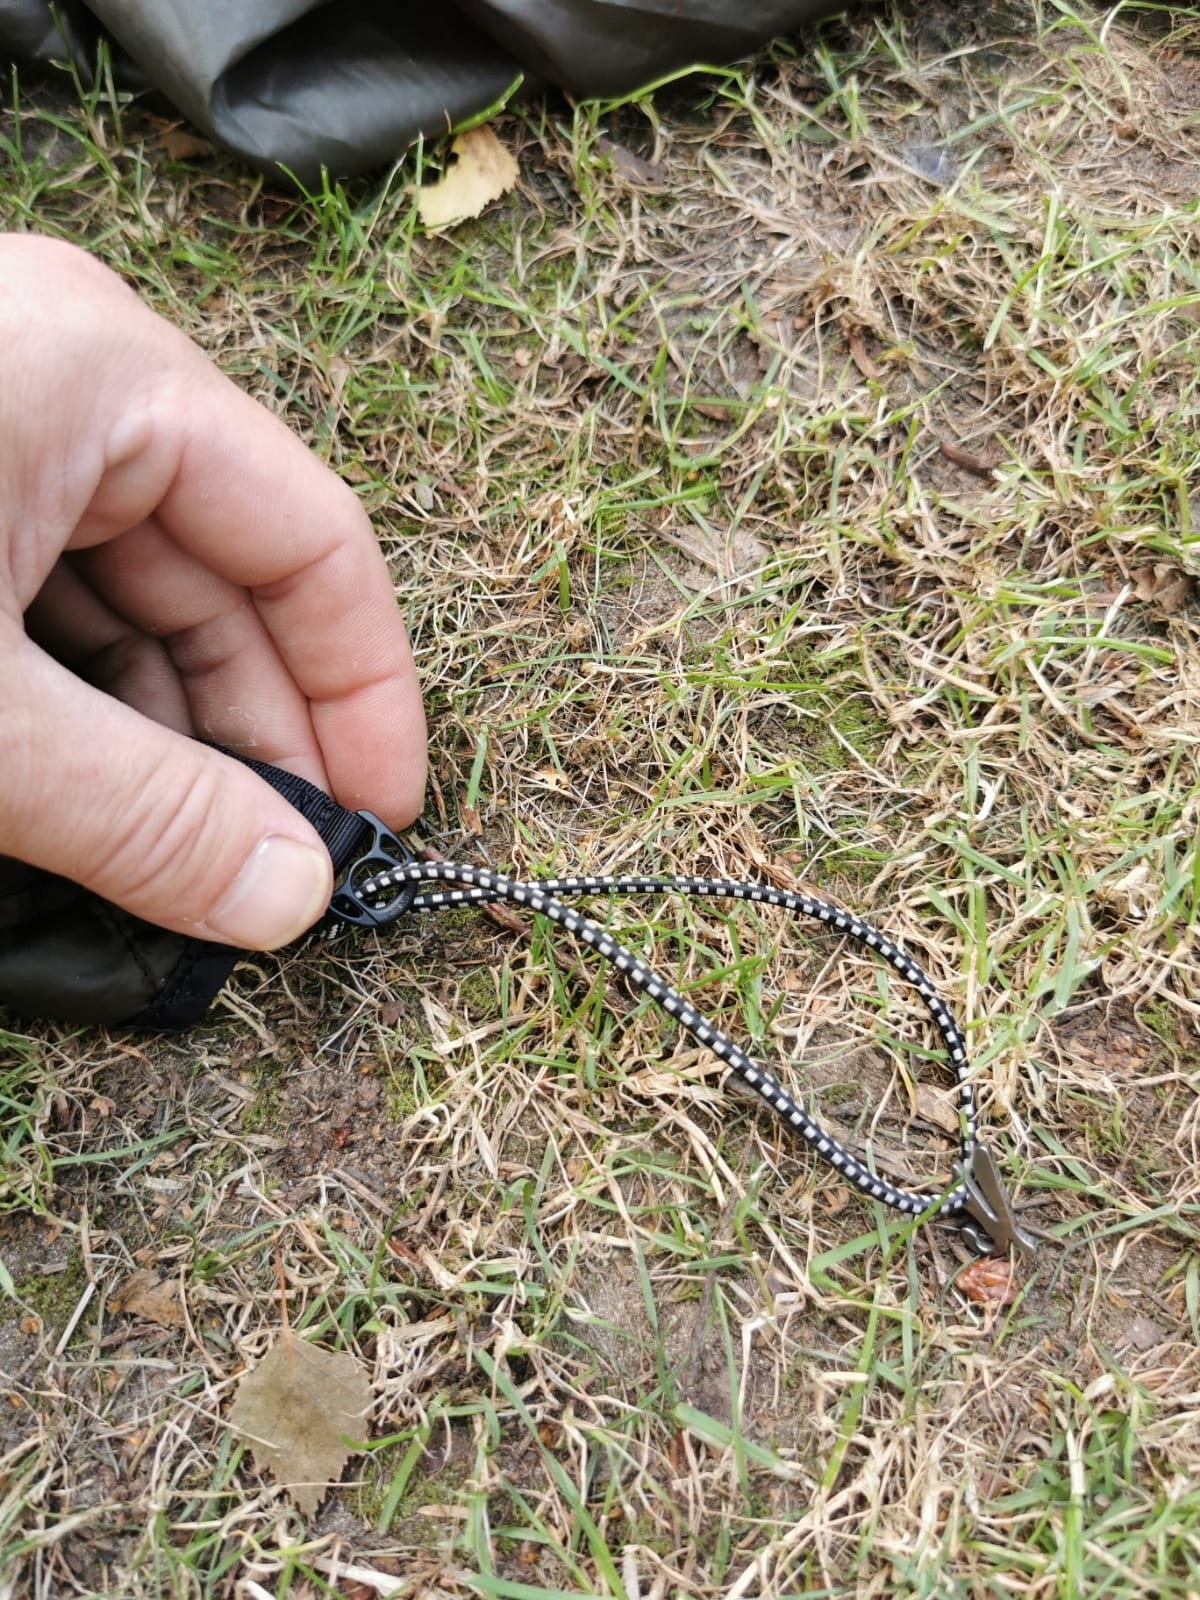
Step 2: Attach Fleaz to the Shock Cord
- Take one piece of shock cord and a Flea
- Thread the shock cord through the hole in the Flea
- Grab a corner (tie-out point) of your tarp
Now attach it:
- Tie the shock cord to the tarp (using a D-ring or metal ring)
- Create a loop of about 12.5 cm (5 inches)
- Make sure the Flea is integrated into the loop
Result: a flexible tie-out that absorbs shock from wind.
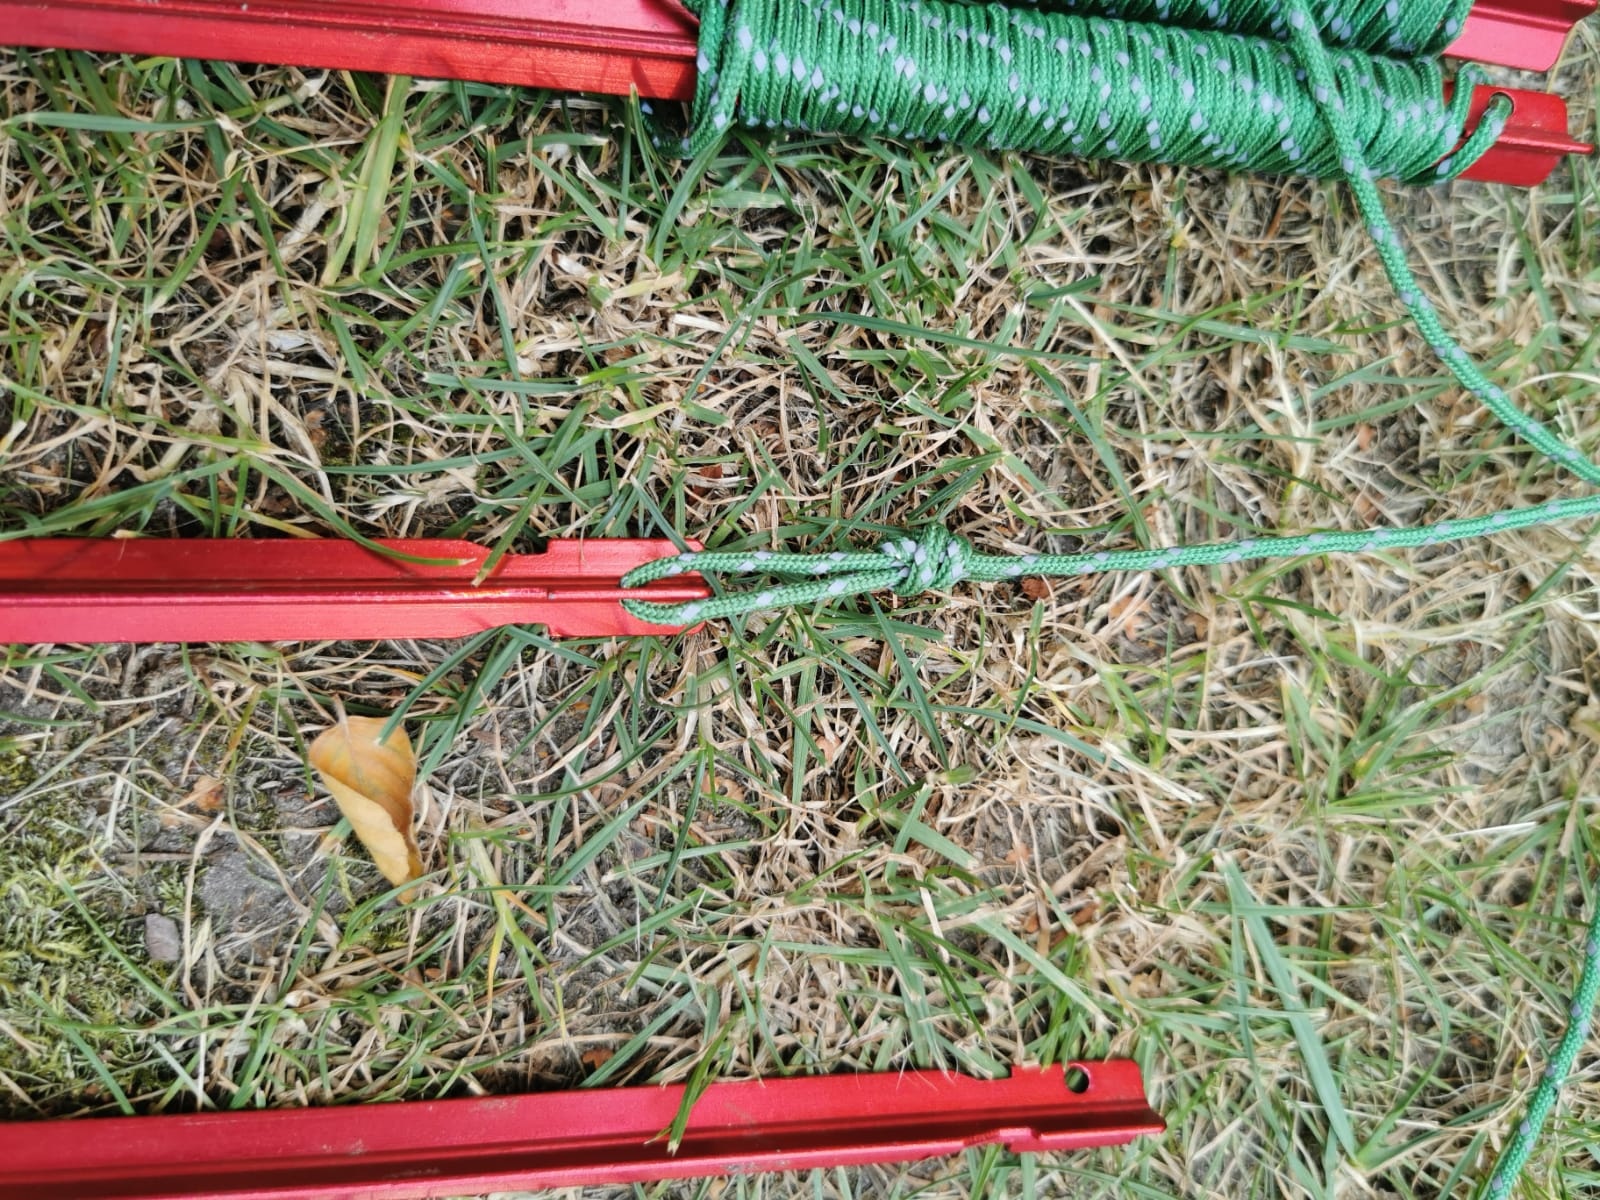
Step 3: Attach Lines to the Stakes
Next, prepare your guy lines:
- Attach the Lash-It or Zing-It to the tent stakes
- You can use a simple knot
or
- Splice the line to create a continuous loop
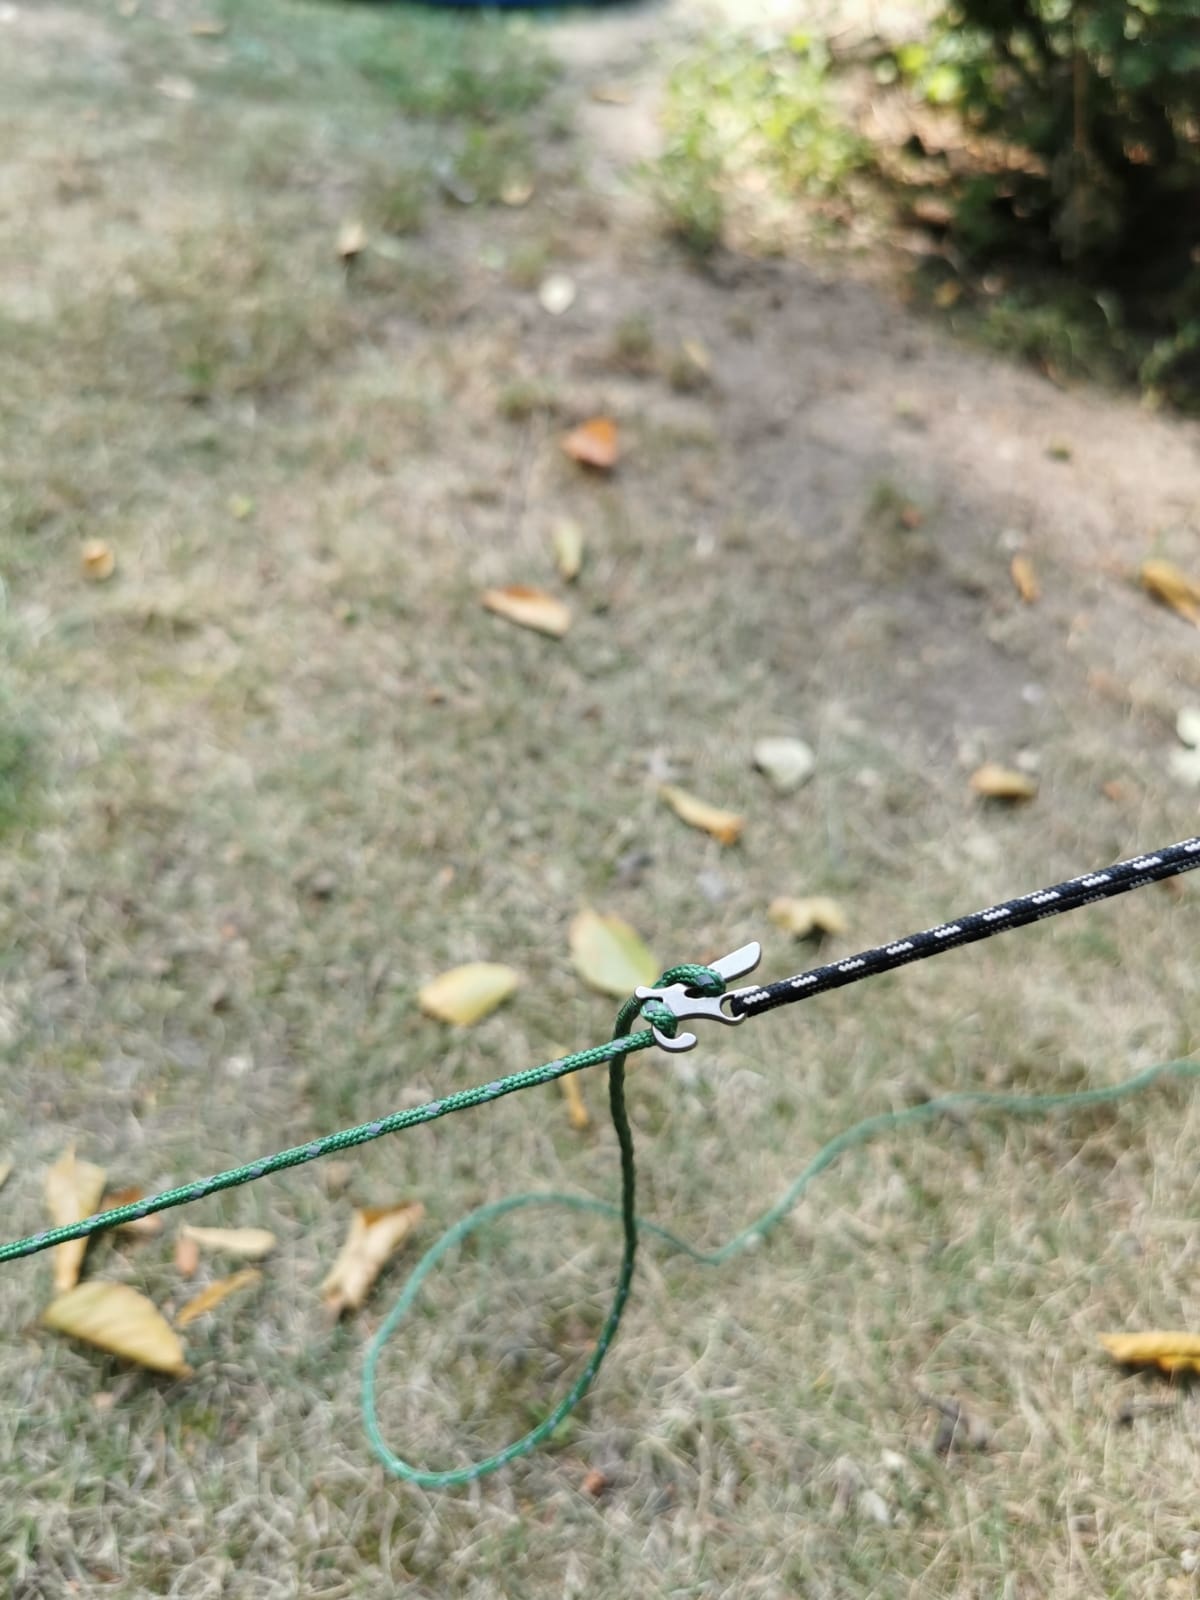
Step 4: Tension Your Tarp with Fleaz
Once your tarp is set up:
- Insert the stake into the ground
- Take the guy line (Lash-It/Zing-It)
- Hook the line into the Flea
- Pull the tarp to the desired tension
- Lock the line along the wing of the Flea
Key advantage:
The shock cord absorbs sudden tension from wind gusts, reducing stress on your tarp.
Benefits of This Tarp Setup
This setup offers several advantages:
- No tangled lines
- Faster setup and takedown
- No lost stakes (lines stay attached)
- Improved performance in windy conditions
- Clean and organized packing
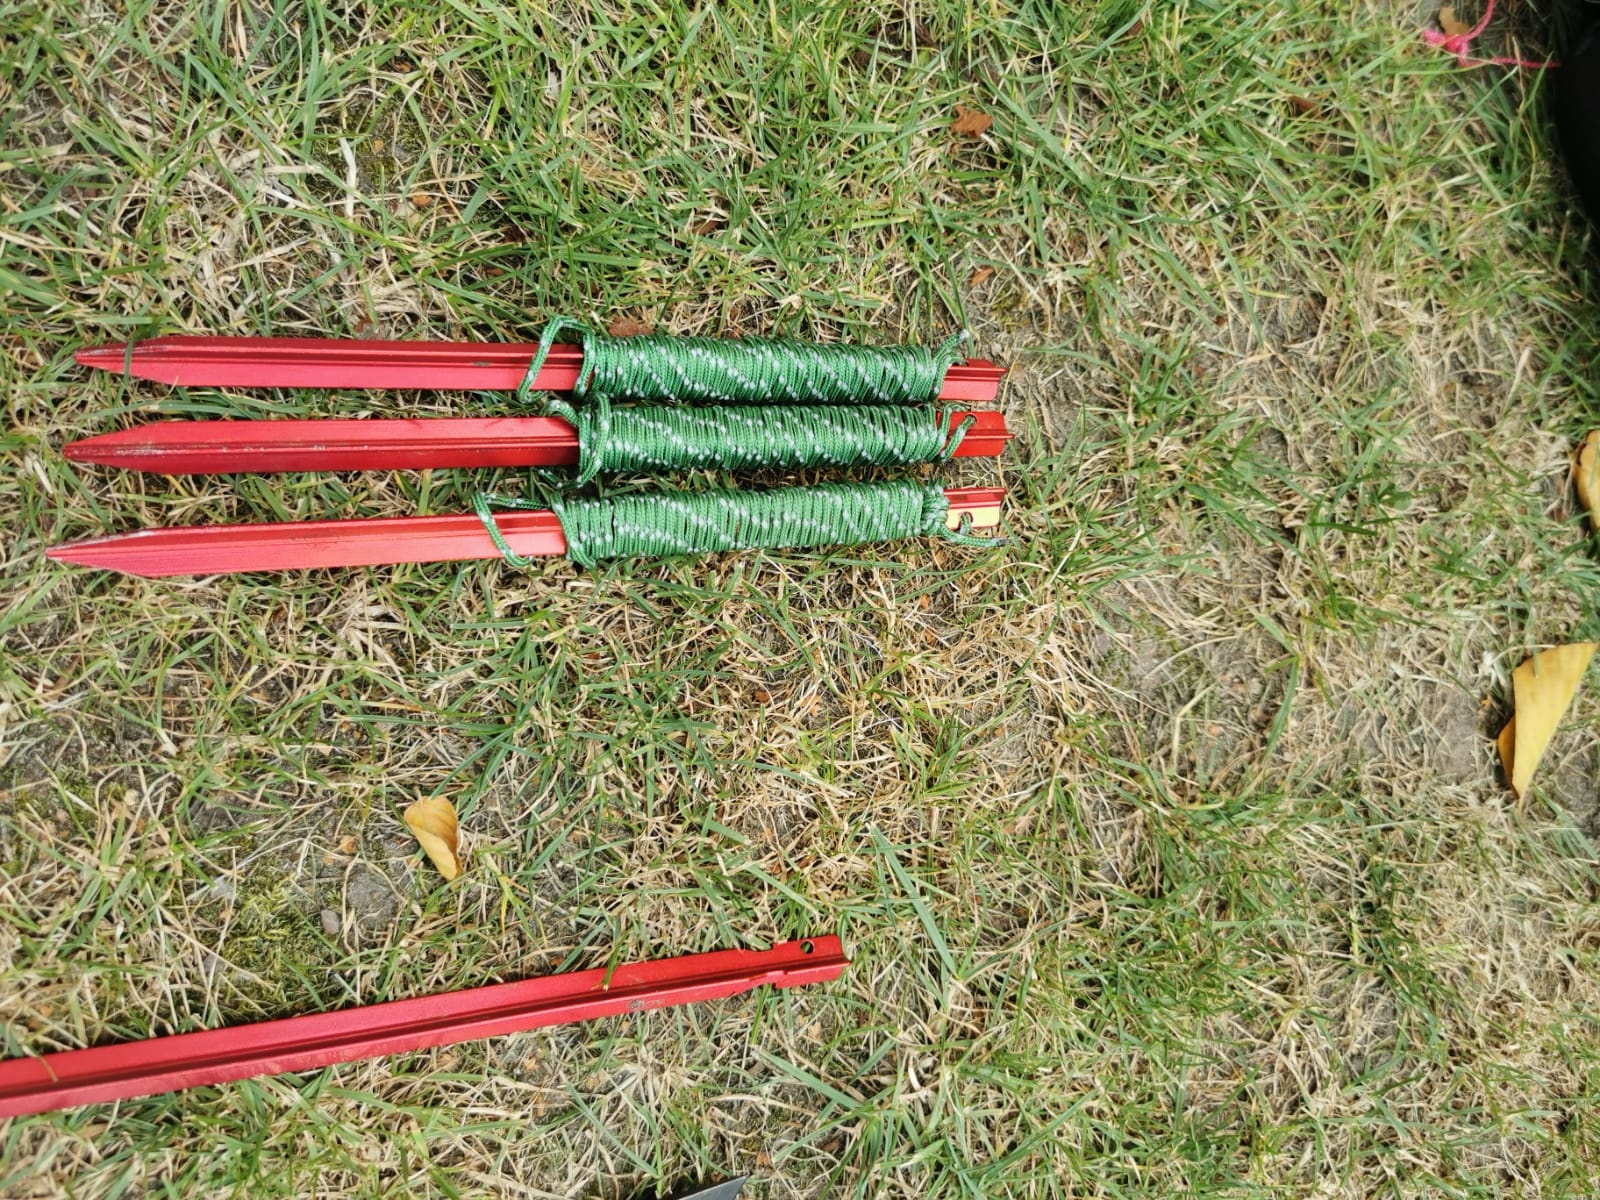
Easy Packing and Storage
When packing up:
- Leave the lines attached to the stakes
- Simply wrap the line around each stake
This keeps everything organized and ready for your next trip.
Important Tip: Line Thickness
The lines shown in the photos are 2 mm thick, which is also the maximum thickness compatible with Fleaz.
Conclusion: Efficient Tarp Setup with Fleaz
With this DIY method, you can easily create professional tarp tie-outs using Fleaz. Perfect for bushcraft, camping, and ultralight outdoor setups.